在服务器上用docker+miniconda搭建深度学习环境
最近在做毕设,由于实验室的服务器上没有conda,我也没有权限安装,因此开始学习使用docker. docker即集装箱,可以看作轻量级的虚拟机,在环境配置时十分有用. 下面以huggingface/alignment-handbook为例,介绍如何用docker和miniconda配置深度学习环境.
在开始之前,你需要有服务器的docker权限,可通过docker run hello-world命令来检查. 如果没有,则向负责的同学要一个.
第一步,拉取合适的docker镜像并创建虚拟环境
1docker pull pytorch/pytorch:2.0.1-cuda11.7-cudnn8-devel2docker run --name kenv -i -t --gpus all pytorch/pytorch:2.0.1-cuda11.7-cudnn8-devel /bin/bash3# 参数解释:--name指定名字 -i即interactive,打开控制台交互 -t分配tty伪终端设备 --gpus指定支持gpu4# 退出用exit,重新进入使用docker exec -it kenv /bin/bash docker stop和docker start开关机第二步,apt更换南大源,并更新软件包
xxxxxxxxxx21sed -i 's/archive.ubuntu.com/mirrors.nju.edu.cn/g' /etc/apt/sources.list2apt update && apt upgrade第三步,安装miniconda并初始化终端
xxxxxxxxxx51mkdir -p ~/miniconda32wget https://repo.anaconda.com/miniconda/Miniconda3-latest-Linux-x86_64.sh -O ~/miniconda3/miniconda.sh3bash ~/miniconda3/miniconda.sh -b -u -p ~/miniconda34rm -rf ~/miniconda3/miniconda.sh5~/miniconda3/bin/conda init bash && ~/miniconda3/bin/conda init zsh #执行结束退出重进第四步,conda和pip更换南大源
xxxxxxxxxx81# conda的换源2conda config --add channels https://mirrors.nju.edu.cn/anaconda/pkgs/free/3conda config --add channels https://mirrors.nju.edu.cn/anaconda/pkgs/main/4conda config --set show_channel_urls yes5# pip的换源6pip install pip -U7pip config set global.index-url https://repo.nju.edu.cn/repository/pypi/simple8# pip config set global.index-url https://pypi.tuna.tsinghua.edu.cn/simple创建虚拟环境,克隆huggingface微调仓库alignment-handbook
xxxxxxxxxx21conda create -n handbook python=3.10 && conda activate handbook2git clone https://github.com/njupopsicle/alignment-handbook.git安装依赖的包和flash-attention 2
xxxxxxxxxx31cd ./alignment-handbook/2python -m pip install .3python -m pip install flash-attn --no-build-isolation #这个包只能用清华源安装,原因未知用token登录huggingface(注意,执行时须处于handbook虚拟环境)
21huggingface-cli login2git config --global credential.helper.store #用于解决下面的红字报错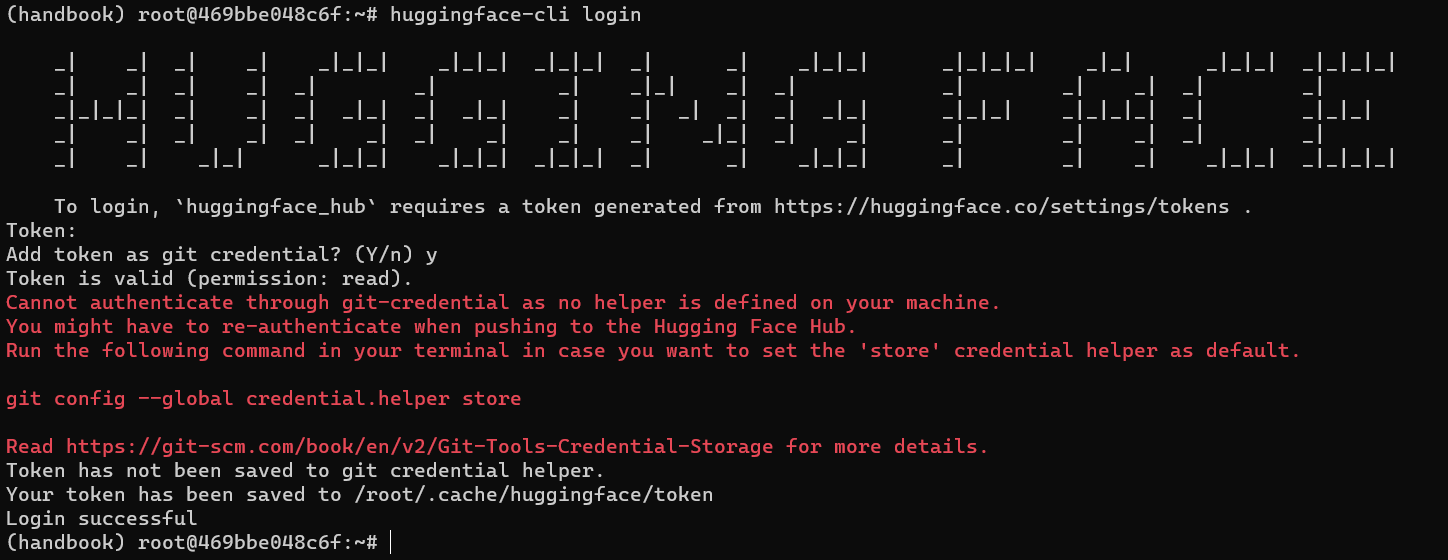
此时一个可能碰到的问题是连不上去,这是因为今年huggingface被封堵,可通过配置docker镜像走win主机代理解决.
最后用apt install git-lfs安装git-lfs,huggingface的alignment-handbook环境就算配置成功了.
2023.12.21补充
记录一下没有root权限时git-lfs的安装方法:
去这个链接找到assets下载安装包,对于Ubuntu,一般是选择linux amd64,amd64也就是x86-64. 假设下载的安装包名为1.tar.gz,用
11tar -zxvf 1.tar.gz #假设得到的目录叫作git-lfs-3.4.1cd进git-lfs-3.4.1,修改install.sh的prefix为当前目录. 比如当前目录为~/src/git-lfs-3.4.1,就修改为这个. 然后. install.sh执行安装.最后,修改~/.bashrc,加入命令
xxxxxxxxxx1export PATH="~/src/git-lfs/bin:$PATH"后,source ~/.bashrc,输入git lfs,输出一些帮助信息即为安装成功.