配置docker容器走win主机代理
1 配置docker容器与win主机的ssh连接
在容器上安装open-ssh并启用ssh服务
1apt update2apt install openssh-server3service ssh start 4sudo systemctl enable ssh #设置ssh开机自启动修改/etc/ssh/sshd_config,将#PermitRootLogin without-password取消注释,改为PermitRootLogin yes,再将#PasswordAuthentication yes的注释取消,然后service ssh restart重启ssh服务.
查看docker容器的局域网地址
xxxxxxxxxx11docker inspect -f '{{range .NetworkSettings.Networks}}{{.IPAddress}}{{end}}' kenv # kenv替换为你的容器名
这时候可以在服务器上用ssh连接docker容器了. 此外,我们还可以给容器手动指定ip地址.
然后再用配置跳板机免密登录的方法,win机器的C:/Users/username/.ssh/config添加如下内容
xxxxxxxxxx41Host kenv # 给容器起名字2HostName 172.17.0.3 # 容器的局域网 IP3User root4ProxyJump a40-2 # REMOTE 为远程主机地址:user@ip:port
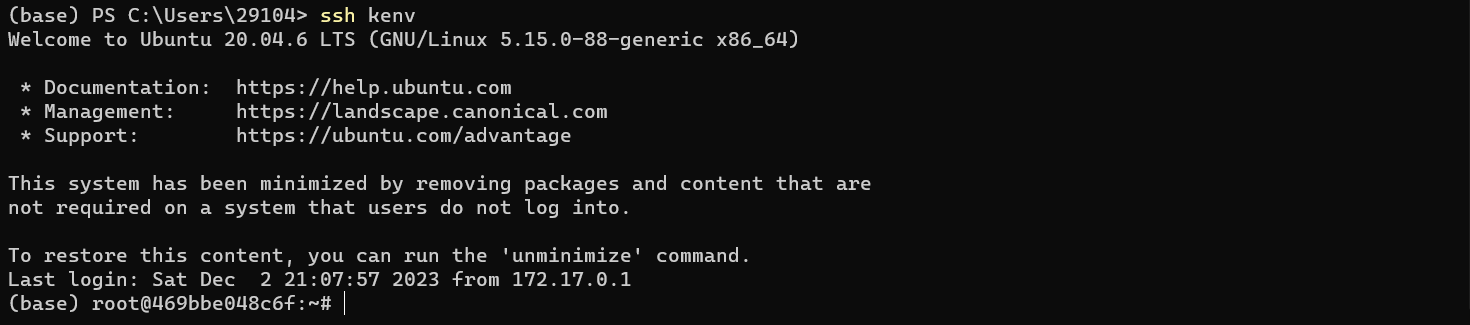
即可在win机器上一键连接docker容器.
2 配置docker容器与win主机的ssh端口转发
首先查看你的代理使用什么端口. 以我用的Clash for Windows为例,端口为7890. 用下面的命令配置端口转发并连接容器
xxxxxxxxxx11ssh -R 15980:127.0.0.1:7890 kenv #替换为你设置的名字若想在vscode连接时使用端口转发,则在C:/Users/your_username/.ssh/config设置
xxxxxxxxxx51Host kenv_clash2 HostName 172.17.0.33 User root4 ProxyJump a40-2 5 RemoteForward 15980 127.0.0.1:7890 # 127.0.0.1不要写成localhost然后在容器内设置代理,就OK了!
xxxxxxxxxx31export http_proxy=127.0.0.1:15980 && export https_proxy=$http_proxy2# 取消代理用unset http_proxy && unset https_proxy
注意以上的操作是一次性的,并非永久,每次登录都要重新设置.